
Origami animals are all the rage and decorating the home using your child’s art is a fun way to display their work.
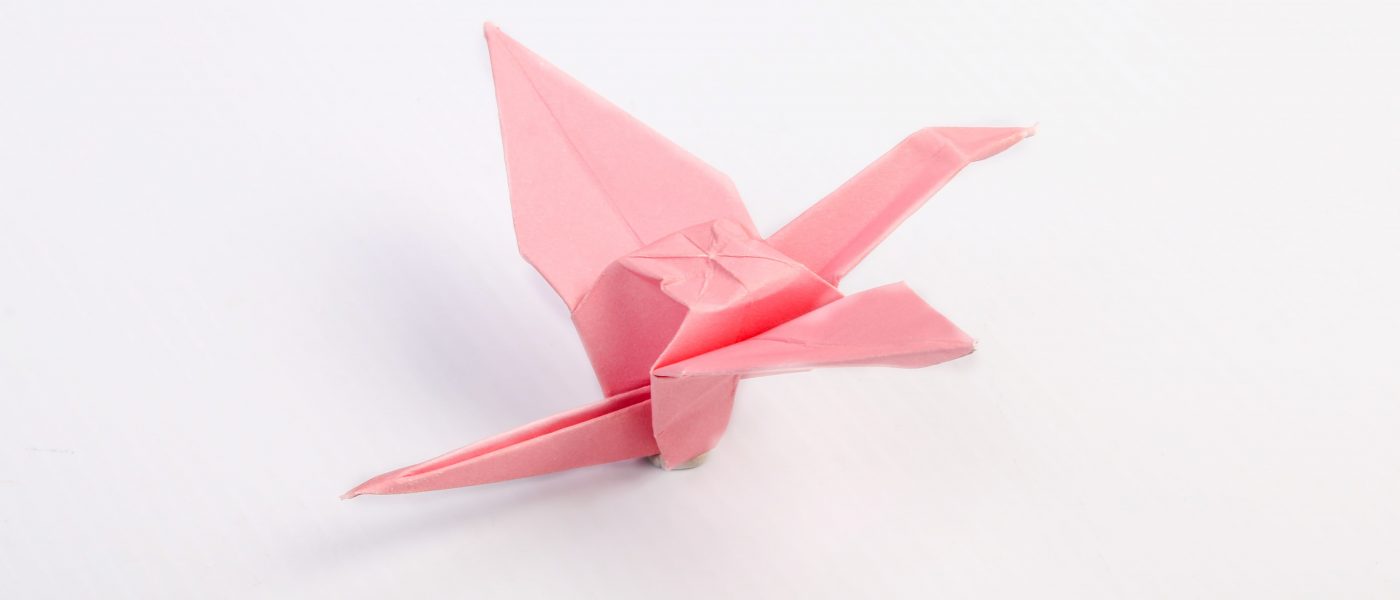
Learn how to make this origami crane and see how you can use it in your space.

Origami animals create an interesting 3D effect when used as wall art to decorate rooms in the home. These 3D designs are stuck onto walls using tape, Prestik or nylon/cotton thread attached to an object/nail and hung from the roof or wall.
Create a magical piece for your child’s room – or your own. Waking up early to this brightly coloured feature is sure to put a smile on your face.
Here is a guide that you can use to create your first origami animal.
Origami Crane:
Step 1: Cut out a 15cm x 15cm square piece of paper. The more flexible the paper, the better.

Step 2: Fold the paper diagonally.
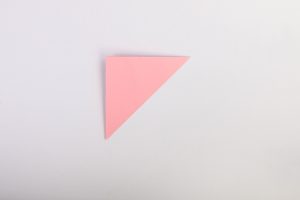
Step 3: Open the paper so that there is a crease down the middle of the square.
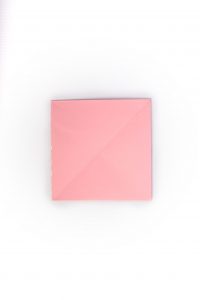
Step 4: Fold the square diagonally the other way as per the picture below.
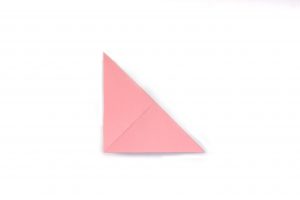
Step 5: Unfold the square so that there are now two crease lines visible.
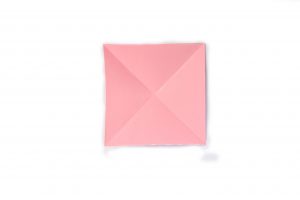
Step 6: Fold the square in half horizontally as shown below.
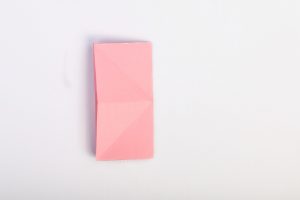
Step 7: Repeat the fold vertically, then unfold the paper to reveal four creases on the square as shown below.
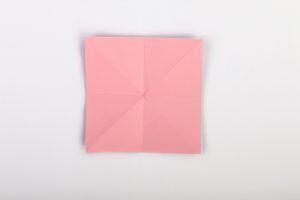
Step 8: Fold the corners together as shown to make a small square.
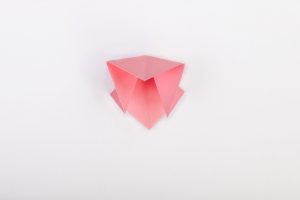
Step 9: This is what your square should look like.
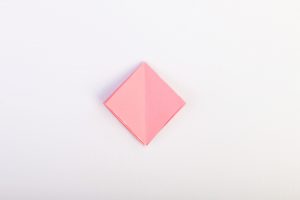
Step 10: Fold the bottom right corner of your square to the center line.
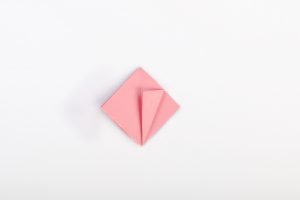
Step 11: Fold the bottom left corner inwards to the center line.
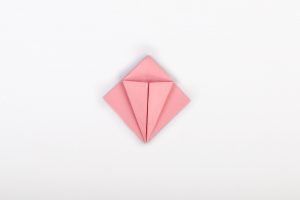
Step 12: Fold the top down.
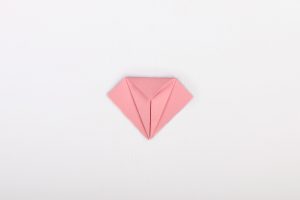
Step 13: Open up to reveal the square with the new folds.
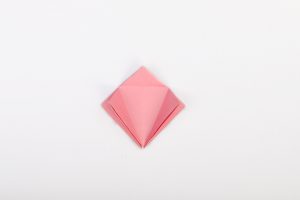
Step 14: Lift the top layer up to open the square.

Step 15: Squeeze the two sides of the opening together.
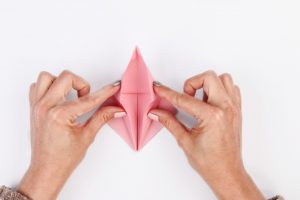
Step 16: Your design should look like this now.

Step 17: Turn the paper over.

Step 18: Repeat steps 10-16 on this side as well.
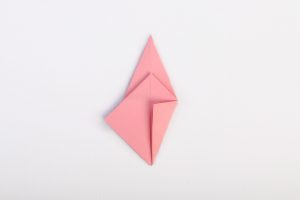
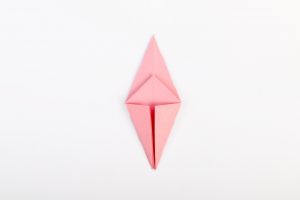
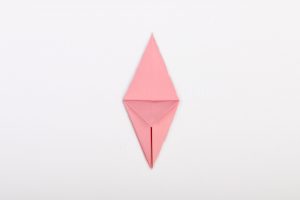
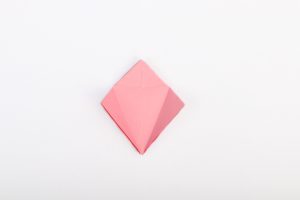
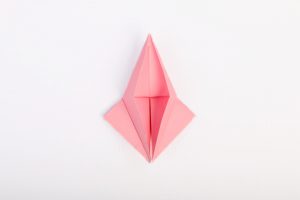
Step 23: Now you will have both sides in this shape.
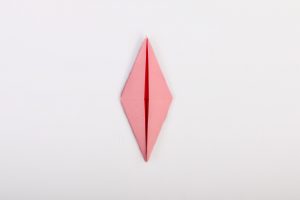
Step 24: Fold the bottom right side in towards the center.
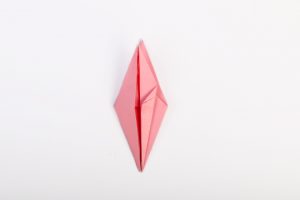
Step 25: Fold the bottom left in towards the center.
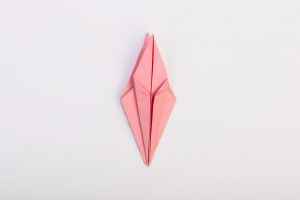
Step 26: Turn the design over and repeat steps 24 & 25 on the other side.
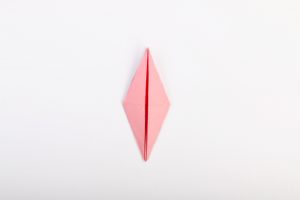
Step 27:
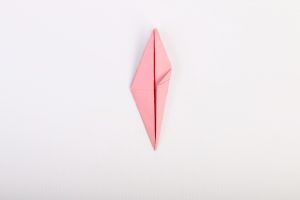
Step 28:
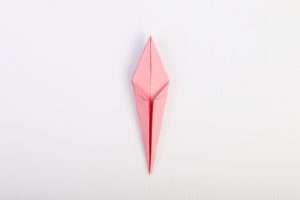
Step 29: Fold the right side up to form the crane’s neck.
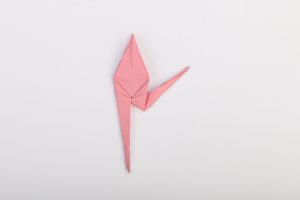
Step 30: Fold the left side up to form the crane’s tail.

Step 31: Press the neck in towards the wings.

Step 32: Squeeze the neck and wings together and do the same with the tail. Bend the neck halfway down to create the head of the crane.
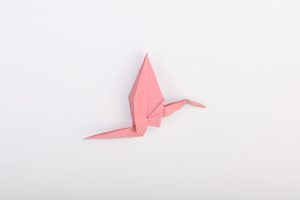
Step 33: Press the wings down
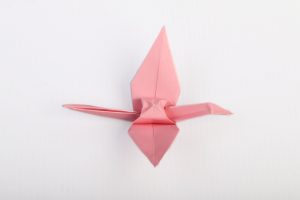
There you have it. Your very first Origami Crane!

Enjoy this fun craft and start creating all kinds of origami animals that can be used as part of your home décor.
From all of us at Bubblegummers – Happy folding!
SHOP Bubblegummers here.


